
Lining Up Mystara XVII
Hollow World Set Maps Revisited III
In which I slice and dice the Hollow World to get the straightened out map to fit the hex maps…
More Size Issues
There’s one more issue here that needs to be tackled: the size of the Hollow World. Back in 2012, when we were talking about World Dimensions at The Piazza, both Sheldon Morris and I came to roughly the same size for the Hollow World, based on expanding the hex grid from Iciria to the rest of the map, and counting hexes. My count was 124 or 125 hexes, as I have mentioned in previous articles. But let’s look again: what was I counting?
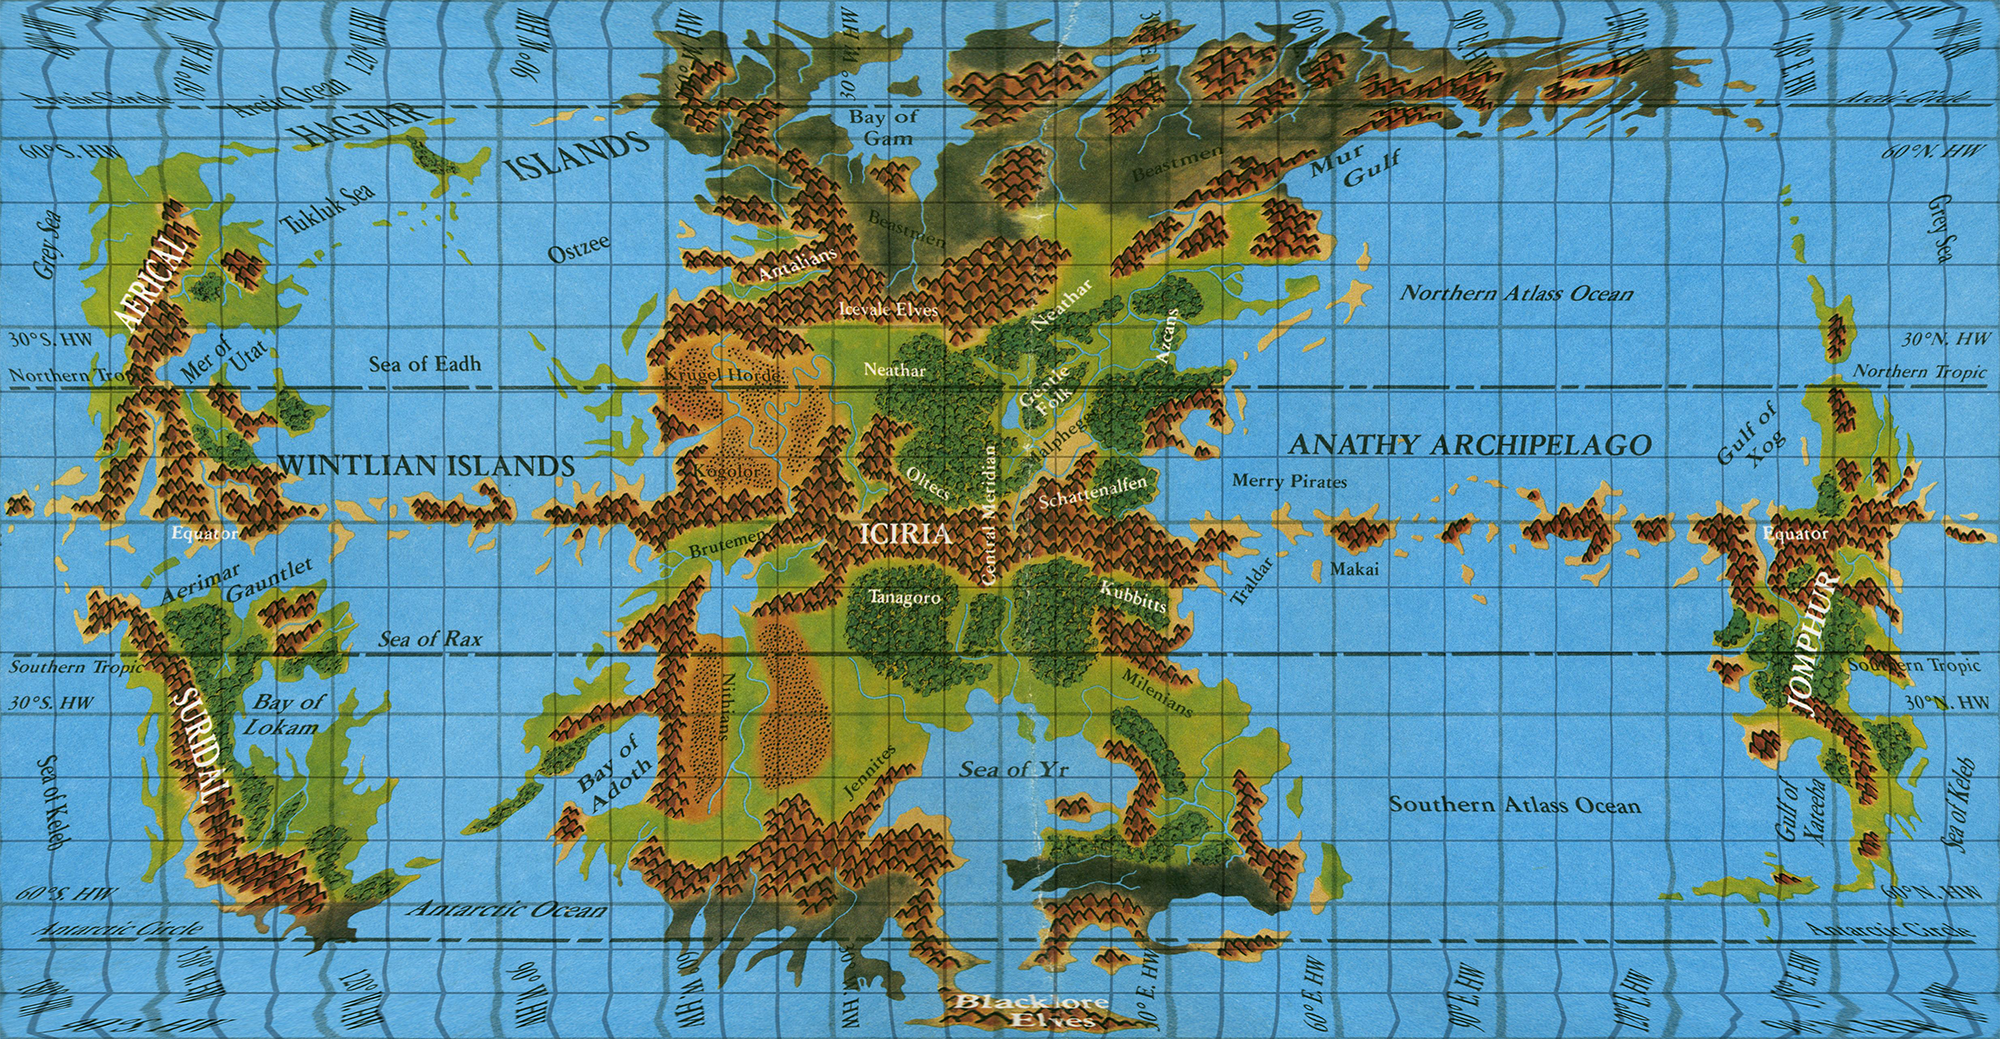
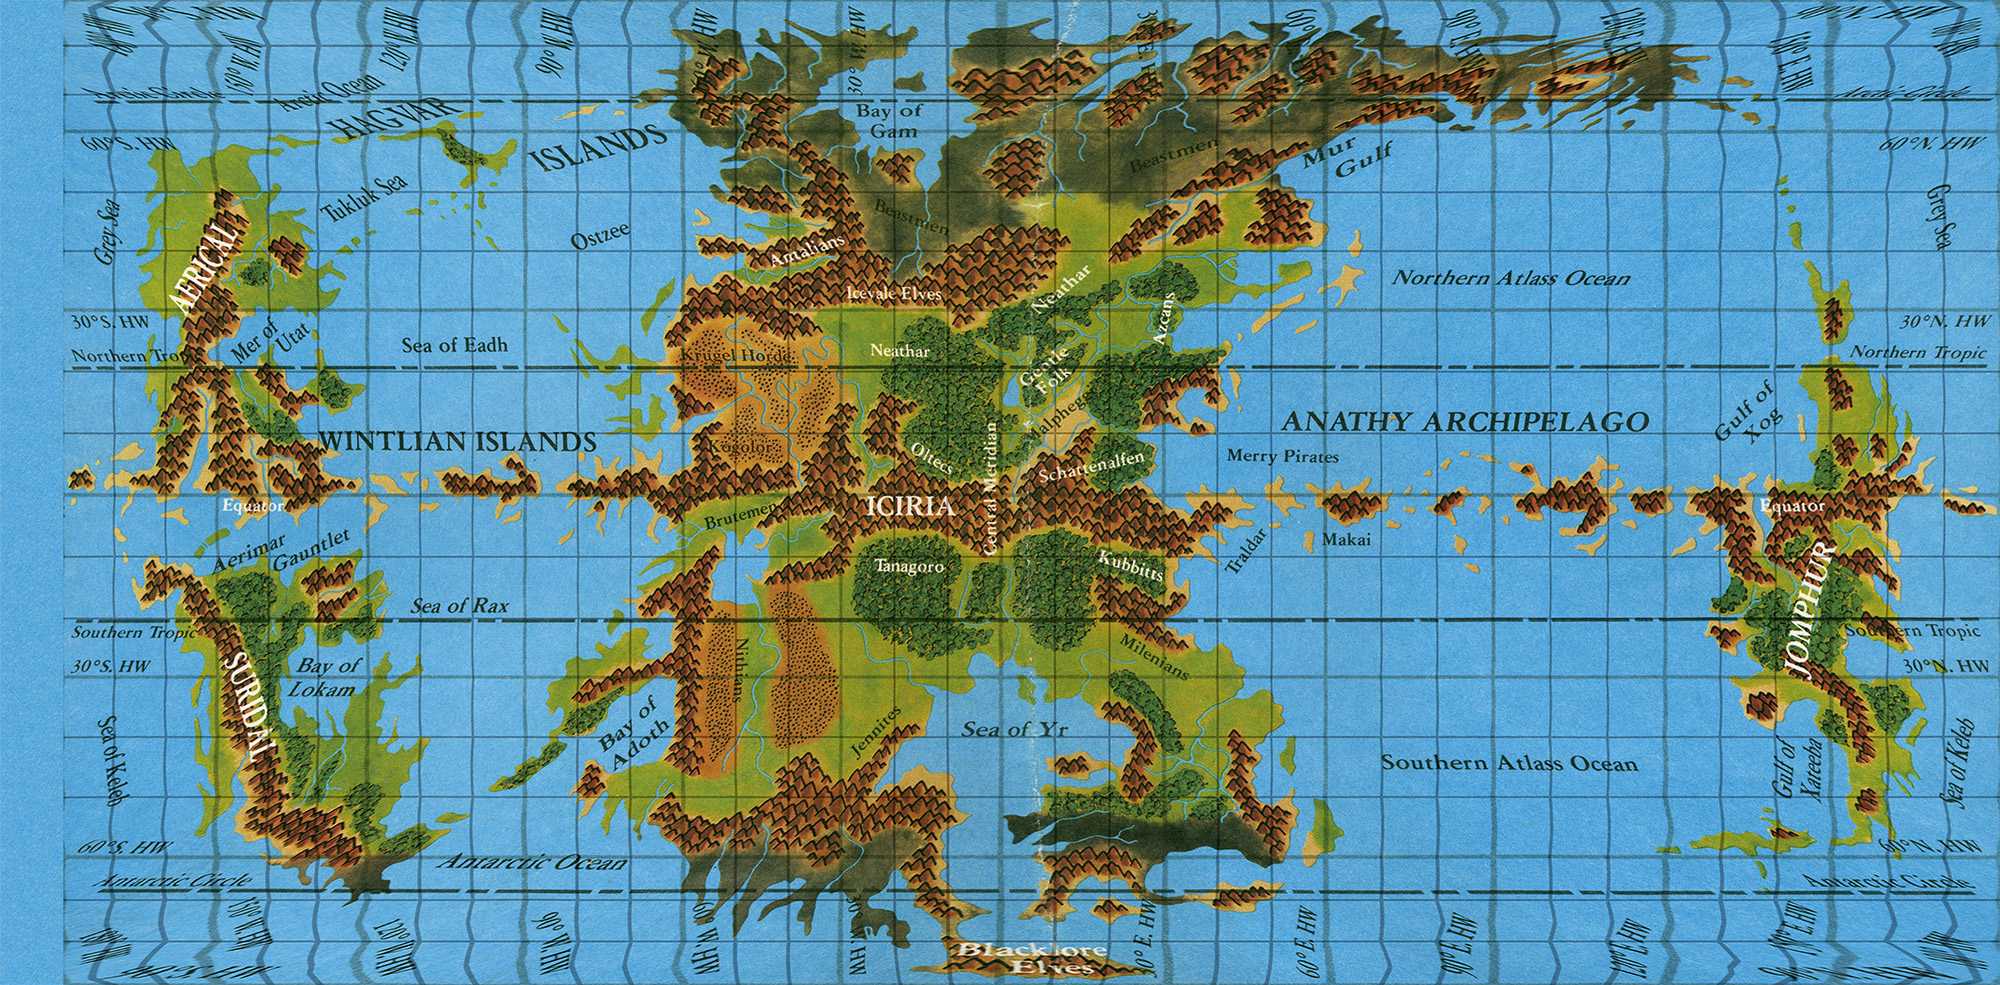
The Hollow World map has latitudes marked just as the Outer World did. There’s something crucial to notice here: between 60ºN and 60ºS there are 23 hexes for each 30º of latitude. 60ºN to 90ºN and 60ºS to 90ºS only consist of 16 hexes for 30 degrees of latitude.
But if we take the hex map at face value, we can at least conclude that the north-south dimensions of the central meridian provide an accurate measurement of the extents of the Hollow World — at least, the extents of the part up until the polar openings.
This is all getting a bit complicated, but here’s my conclusion: the vertical height of this map is the accurate measurement, while the latitudes are a red herring that we can and should ignore.
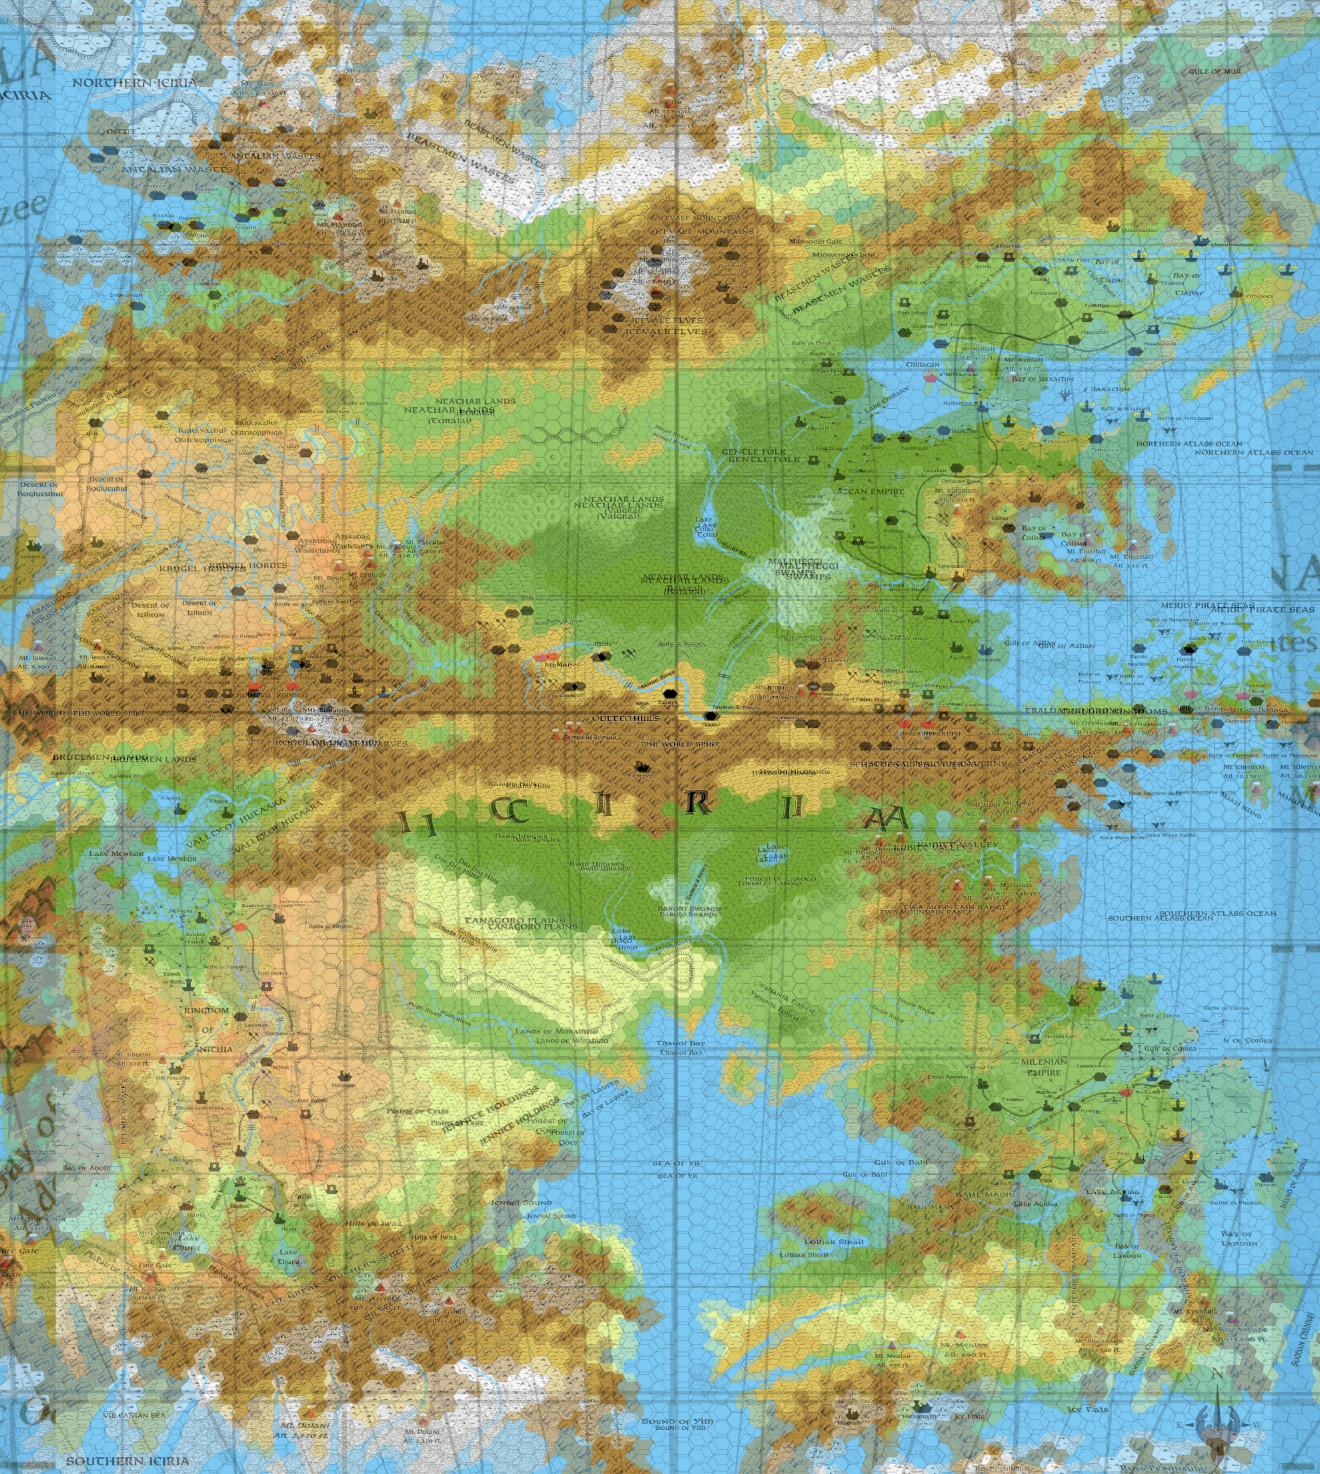
So what needs to be done? Well, we need to unwarp the map — straighten it out so that north is always straight up, south straight down. But we don’t need to map it to the grid of squares an Equirectangular projection will give us. Look again at my Equirectangular map above. See how all of the squares are regular throughout the map? But as we have seen, the hex map dictates that the areas from 60-90º are in fact smaller than the rest of the map.
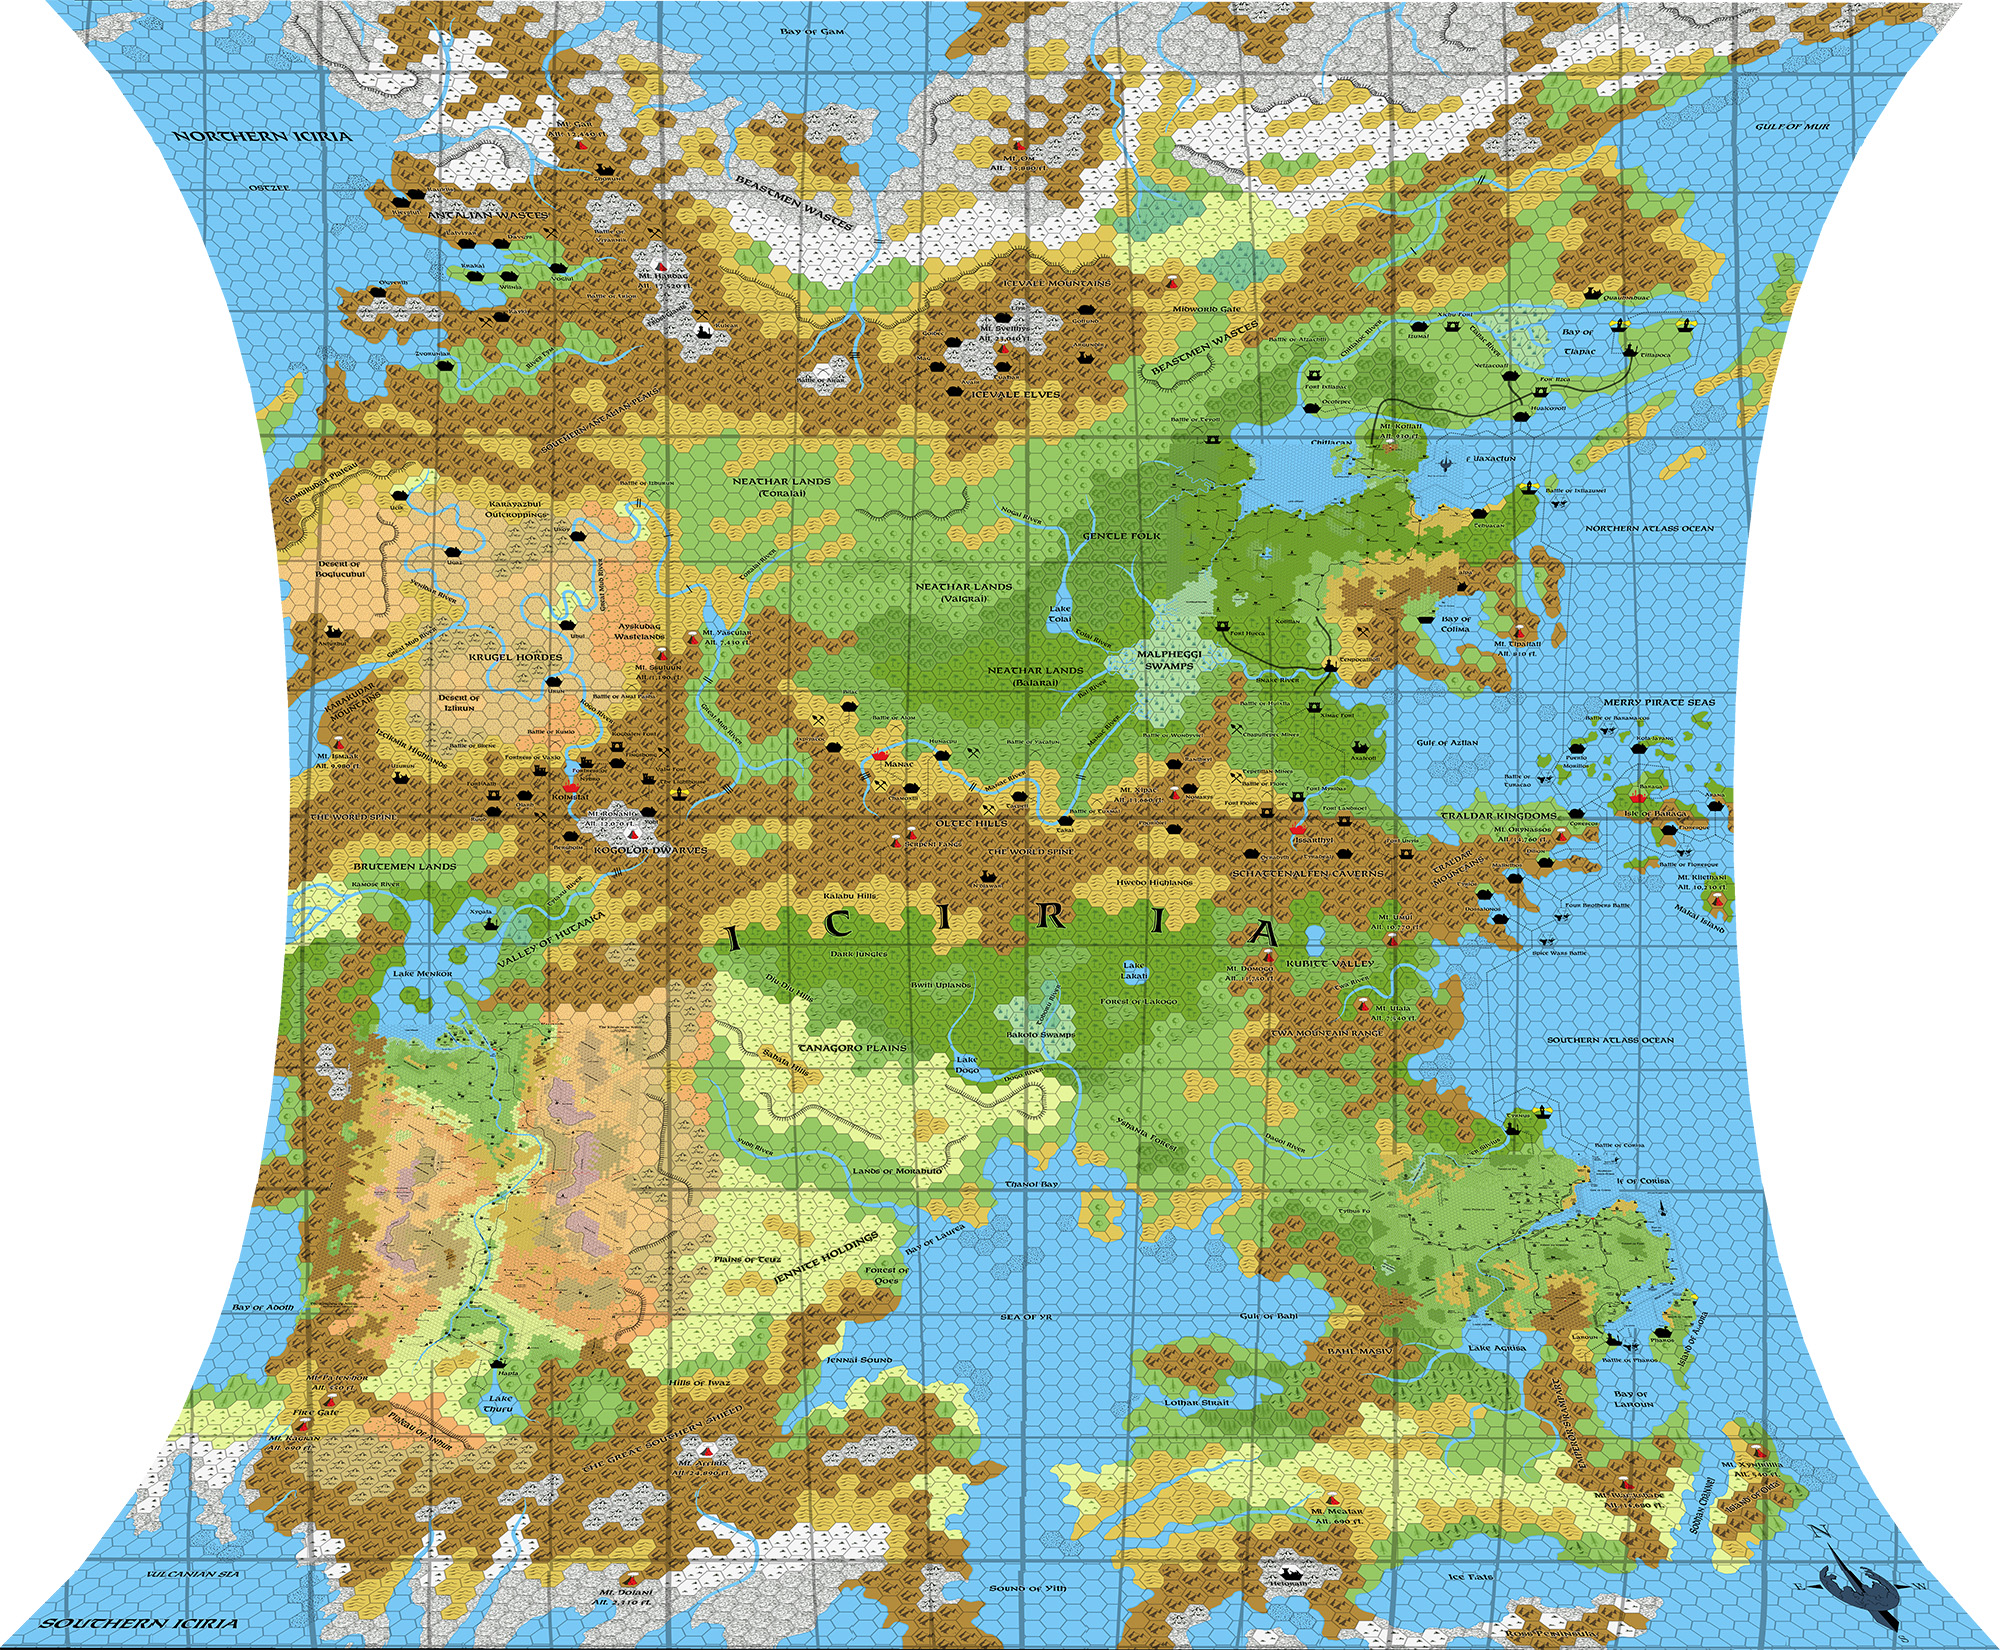
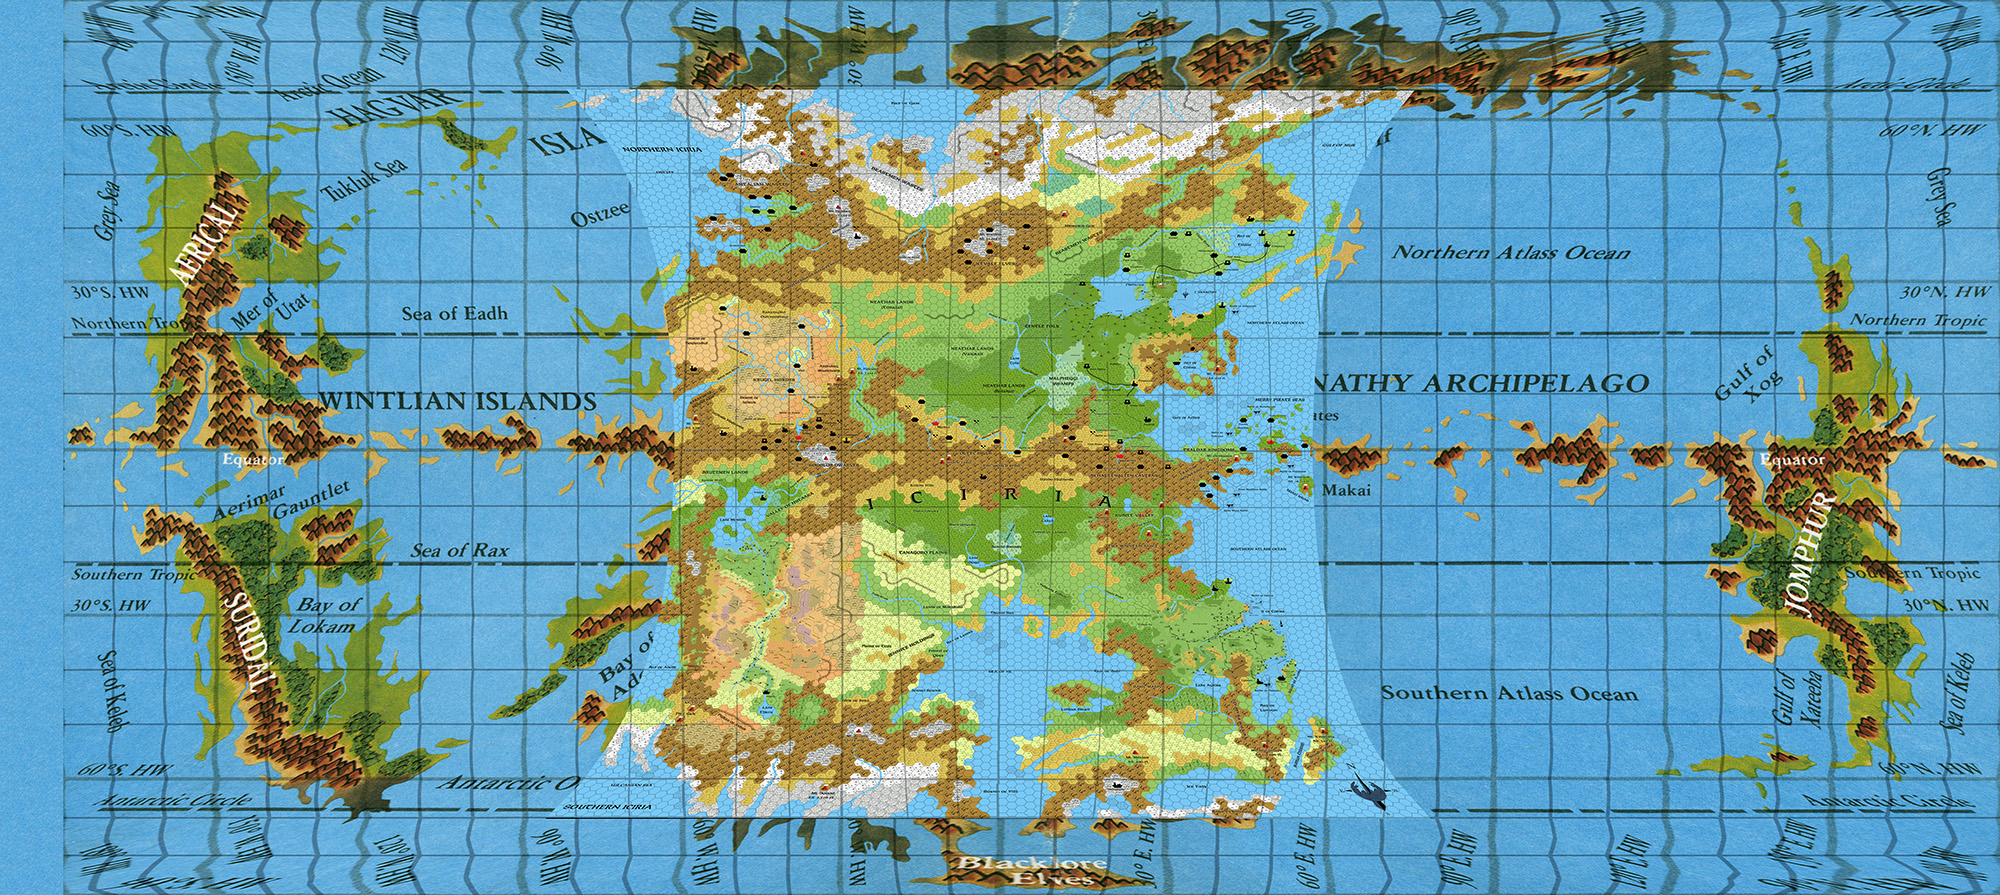
Here’s what I propose: we can still use my reprojection to straighten out the map, but it needs to be cut up and rescaled vertically, so that the latitude lines match the pseudo-Robinson projection’s lines. This will result in an image like this:
Here’s a comparison of the two. Note how the latitude lines match up.
This image is no longer 2:1. It’s now 1925:1000 — in other words, a little too short in the east-west dimension.
This makes me remember that when we fitted the world map to Iciria’s hex map, we needed to stretch it slightly east-west. Since we’re reprojecting based on the graticule, the stretching will be discarded in the reprojected image. Does this mean that we need to stretch the map out a bit to get it the right east-west dimensions again?
Well, the original hex map’s east-west dimensions should be true at least along the equator, so we can use this as a check.
In simple terms, we want the reprojected hex map to match the original (pseudo-Robinson) hex map along both the equator and the central meridian.
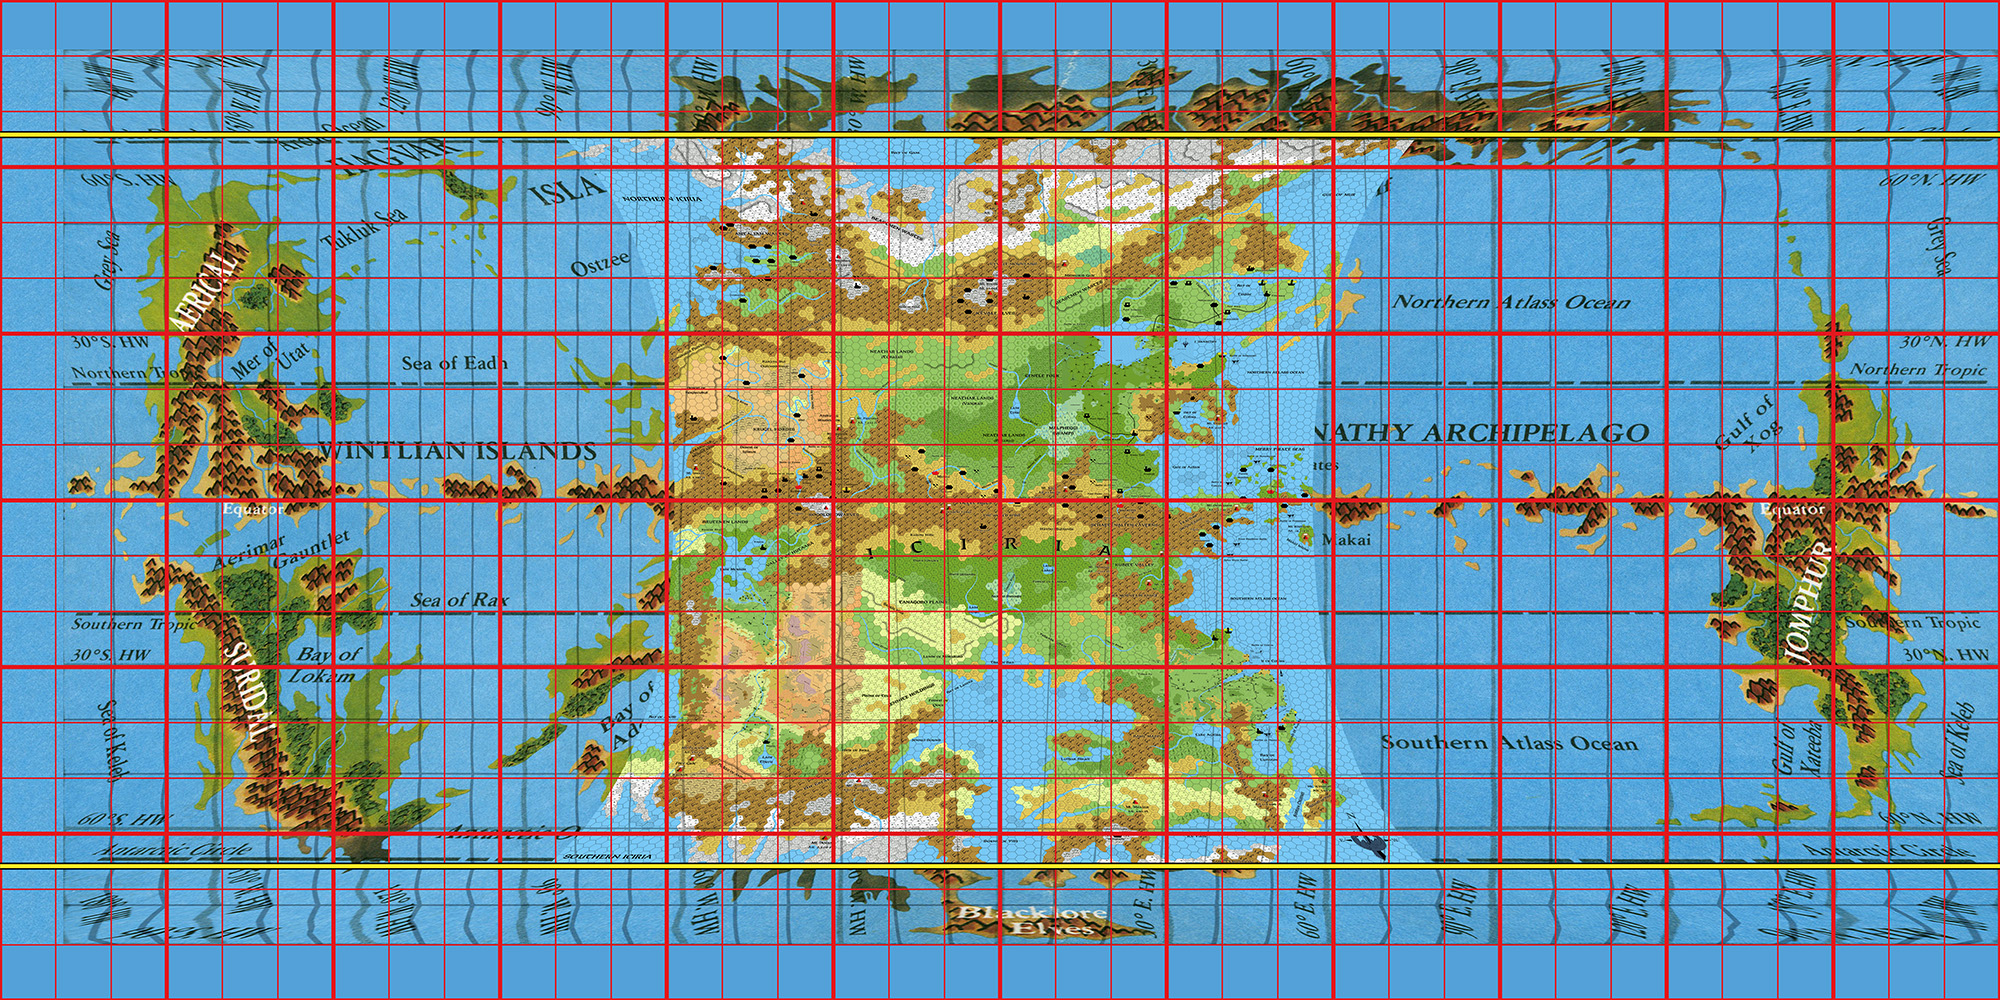
Let’s see with an overlay:
It’s pretty obvious right away that they don’t match.
The latitudes will of course need to be rescaled manually as we did for the Equirectangular world map.
Note how the central column of hexes is quite regular now that the latitude lines have been matched up. Remember, we’re ignoring latitude and going with the hexes as an absolute measure of distance north-south.
But what of the longitudes? Shouldn’t they have been accurate along the equator?
Apparently not. Looking at other Robinson projections, they do seem to be taller than they are wide.
Conclusion: the Hollow World hex maps are probably all slightly wider areas than they appeared to be! This is because the Robinson projection is a compromise projection, which doesn’t present any single aspect (shape, area, distance, etc.) of a map completely accurately.
But wait: there’s more. It turns out that the pseudo-Robinson world map’s western (right) hemisphere is significantly wider on the map than the eastern (left) hemisphere. Check out the width of the grid squares on the left and right, and it’s quite obvious that the right is bigger. This all gets normalised when you reproject, but I propose that we match the longitude graticule in the same way we matched the latitude lines. Specifically, we should match the junctions at the equator, restoring the visual appearance of the map. It may be necessary to add some sea on the far side of the world in order to keep the central meridian where it is, but this is fine by me — I’ve always thought that the outlying continents are too close anyway.
Here’s what we end up with:
The resulting world is now 1967:1000. Closer to the 2:1 ratio than before, but not quite there. Let’s fix that by centring the central meridian and adding sea to the blank space:
This looks pretty good. It would be easy to add some islands to make sure the equatorial mountain range isn’t completely broken.
The ratio is now 2031:1000. So we’ve passed the important 2:1 ratio. More on this shortly.
Building an Equirectangular Hollow World
This may have been hard to follow, so I’ll sum up. We now have:
- An Equirectangular projection world map, scaled to fit the visual dimensions of the pseudo-Robinson world map. The graticule grid is now totally wrong, but we can fix that in future maps.
- An Equirectangular projection Iciria hex map, scaled to fit the north-south visual dimensions of the pseudo-Robinson Iciria hex map.
It’s time to put these together.
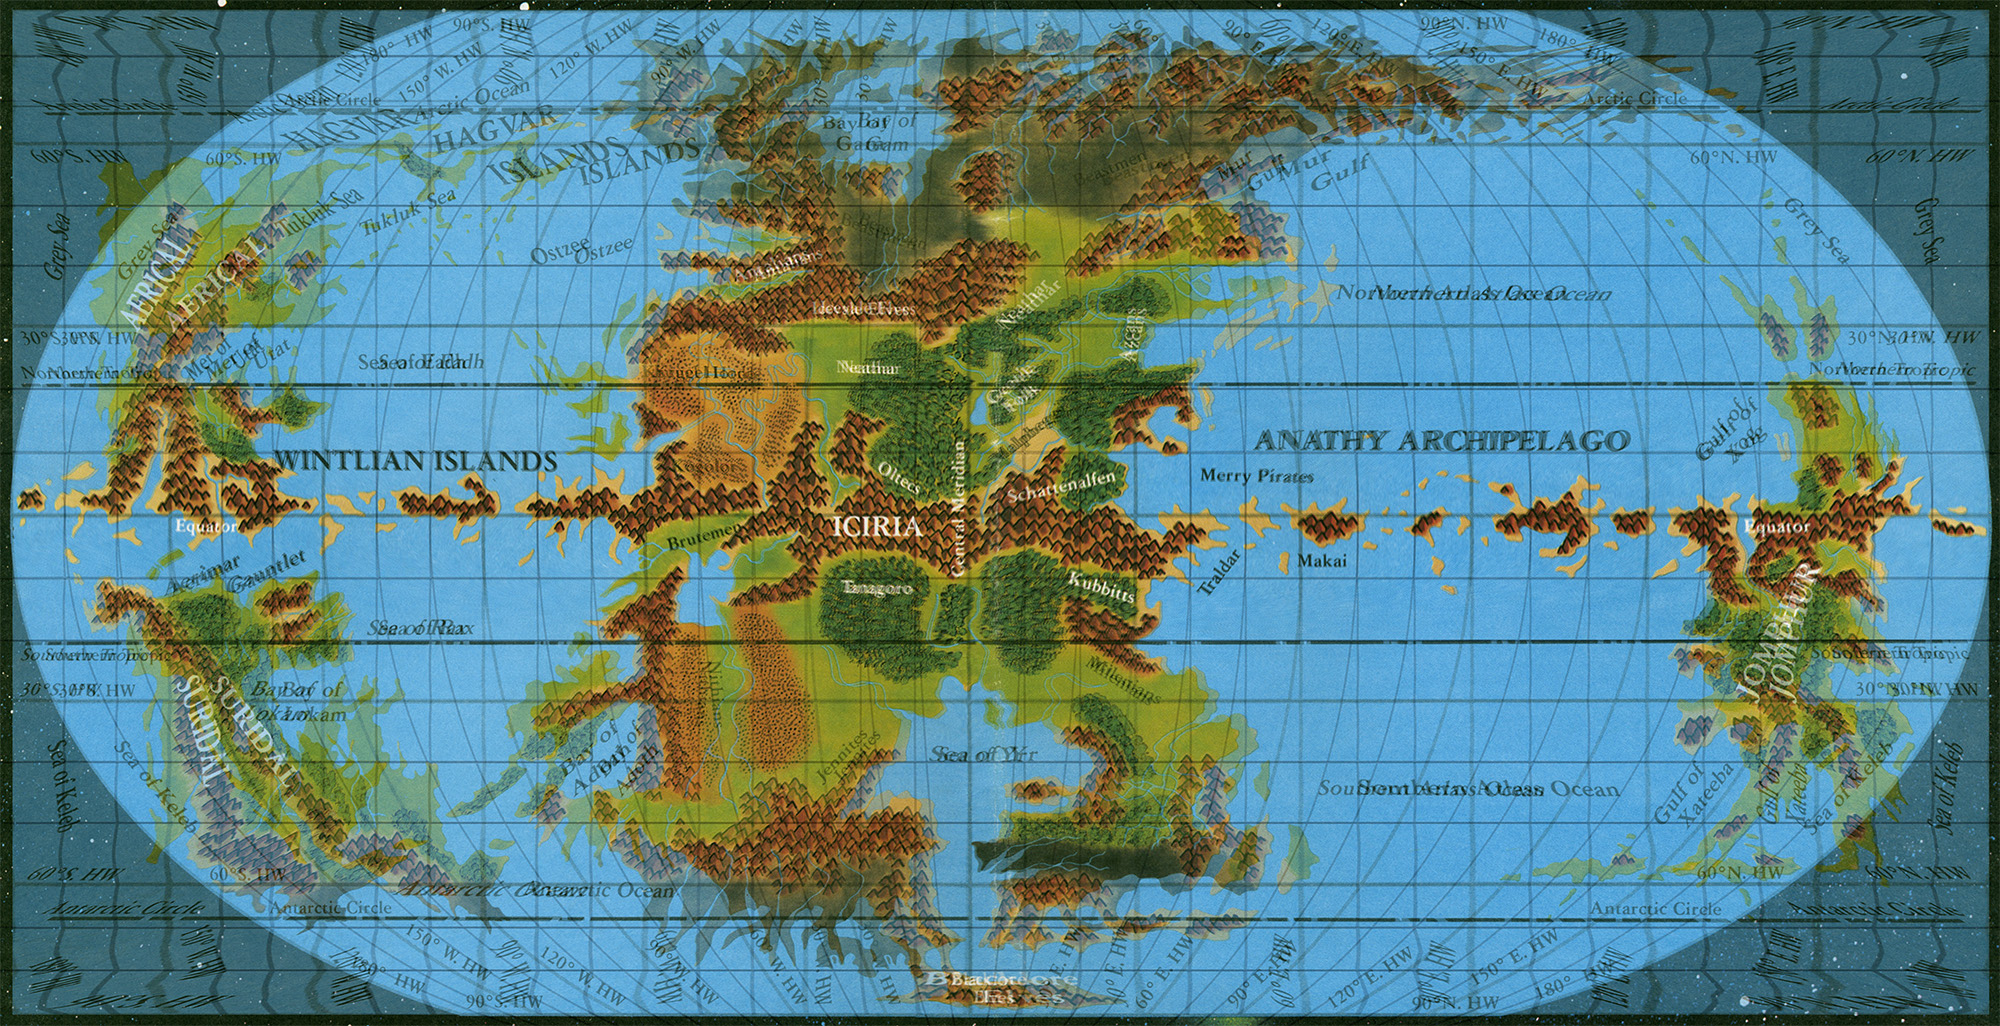
If you remember, this involved stretching of the world map last time. We’ll do the same this time, adapting the whole world map to the hex map’s dimensions. Here’s the resulting world:
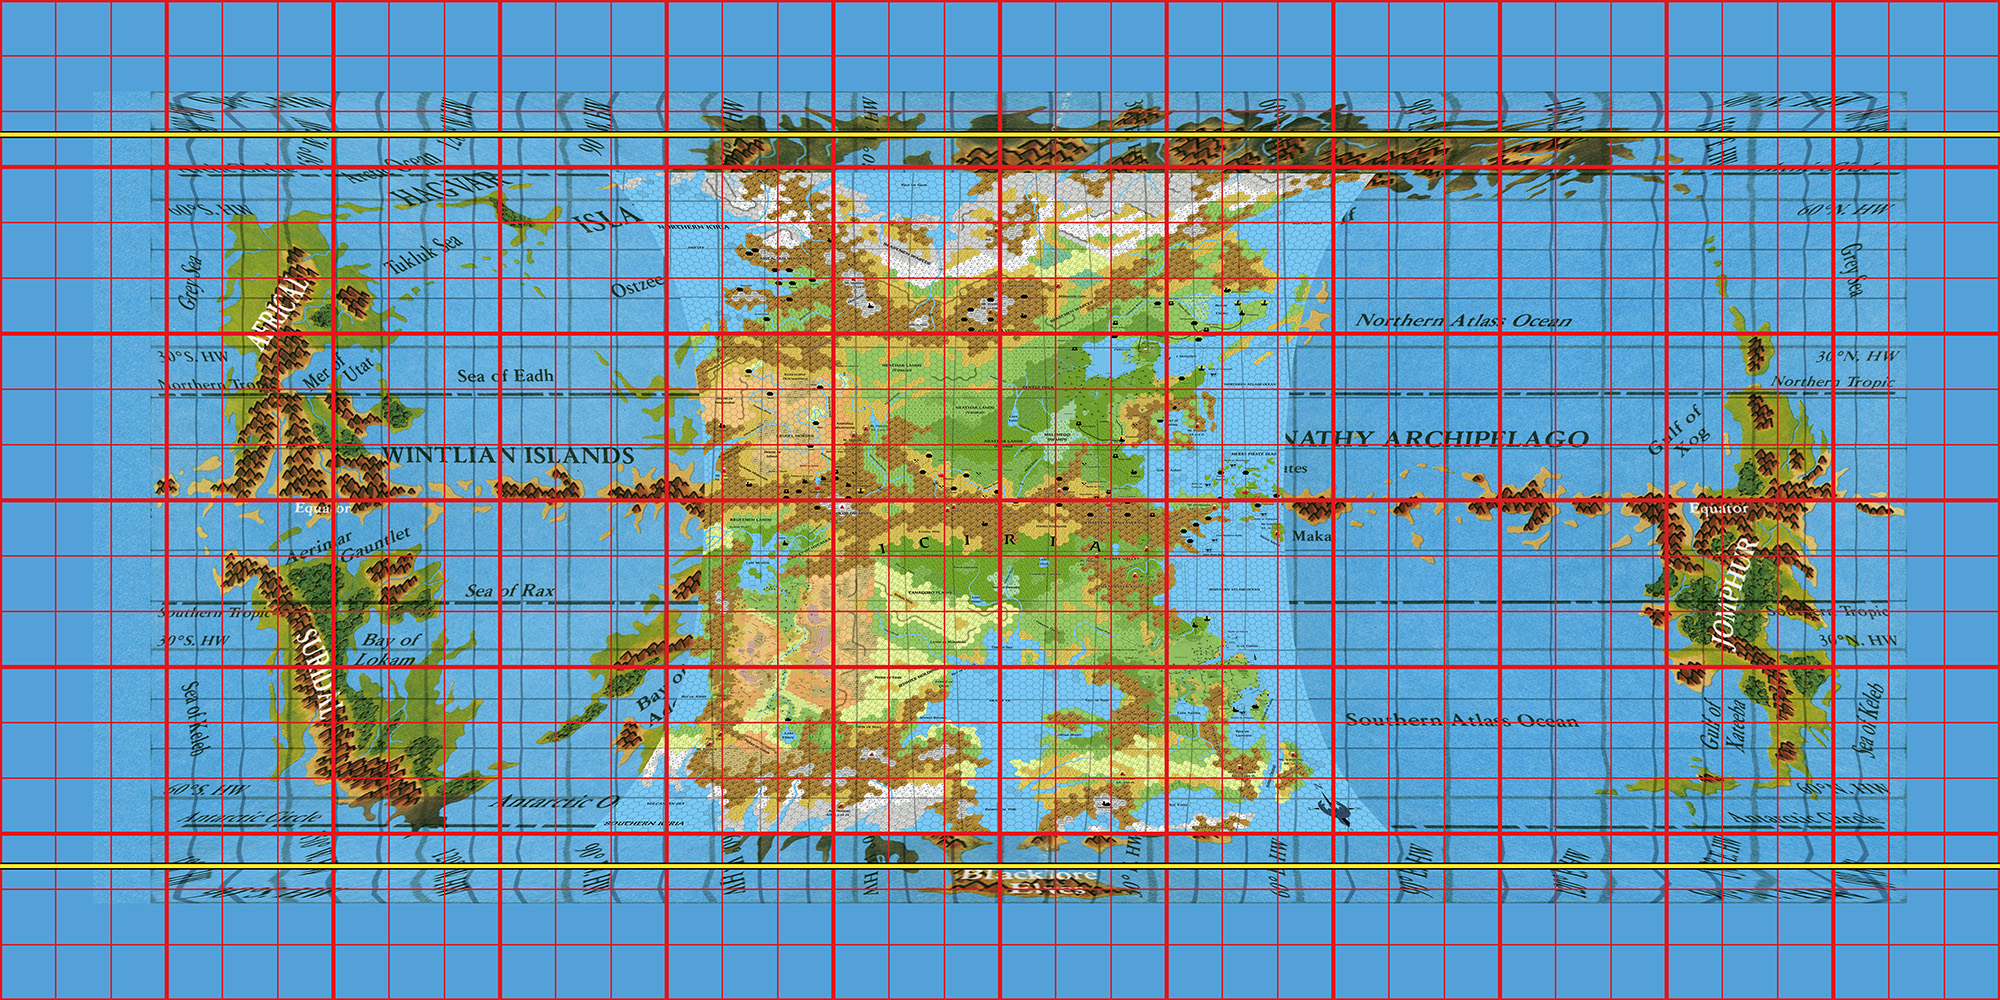
It’s reached a ratio of 2234:1000. Add a graticule and fill in the north and south extremes with sea, and here’s what we get:
It’s messy due to the old graticule being burned into the map, so I made the new graticule thick red. You can see that it’s mostly the eastern (left) hemisphere that had longitude problems, which makes sense as it’s the one that came up short.
Hollow World Placement
The polar lips starting at 66º look fine. The Blacklore Valley was always going to end up close to the polar openings, but its exact location may need some tweaking so that it doesn’t go too far into the opening; the Hollow World Set polar opening map seems to place it not quite inside, after all. This should be possible by adjusting the amount of sea at the edges of the map.
But the big question for placement is the size of the Hollow World. All of our tweaks have regularised the Hollow World so that it now appears to have a steady 7.5 hexes per 10º. With 40 mile hexes, this works out as:
7.5 x 40 = 300 miles per 10º latitude. 300 / 10 x 360º = 10,800 miles. Unsurprisingly, this is the figure we originally came up with. The official figure was 11,908 miles. Doing the formula backwards, that would mean 8.27 hexes per 10º.
We can easily add a little more sea at the edges to accommodate this size. This has the added benefit of bringing the Blacklore Valley up to right after 66ºS, which should mean it will be at just the right spot, on the gradual slope into the opening but still facing the inner sun.
Here’s what this looks like:
I would definitely add islands to the equator.
It took a surprising amount of fiddling to get to this point, but I’m pretty happy with the result.
Any questions?
One thing you may have realised is that even though I adjusted the Equirectangular world map vertically and horizontally to match the graticule, I only adjusted the hex map to match latitudes — not longitudes. As I noted, the result of this is that the area of the hex map will be slightly wider than it appeared on the original map. So why did I do this?
Because the projection we’re dealing with artificially expands distances east-west as you move away from the equator. To put it simply, the three HWR maps cover less area than they appear to, because they’re all away from the equator. Allowing this slight widening should counter that a little throughout the continent, allowing the shapes we know to remain closer to how we know them.
Also, I want to place as much of the Hollow World land as possible within the 66ºN to 66ºS span. This means we need more land from east to west, so this slight stretching seems to make a lot of sense here, too.
Next up: Tying up some loose ends before we go back to the 3D model and testing placements.


25 February 2016 @ 9:37 pm
That’s really fabulous work, Thorf!
26 February 2016 @ 6:28 am
Great work!
A little hard to follow in some sections but I got the overall scheme and now, after some thought, I’m definitely on it.
I agree on everything you wrote, I think you managed to get the correct paradigm for the Hollow World mapping!
I’m eager to see what are the loose ends you talk about, then to behold the 3D model in all its glory! 😀
26 February 2016 @ 5:34 pm
You can see why I split this up — originally, the last three articles were all one single very long one! It would have been even harder to take in that way, I’m sure.
Let’s see if I can summarise
verybriefly what I’ve done (for myself as much as for you!):Phew. I’m not sure I follow this all myself! 😉
I’m already working on the 3D model. The results are promising so far. More on this at the weekend, hopefully.
Lining Up Mystara I – Thorfinn Tait Cartography
28 February 2016 @ 1:46 am
[…] Up Mystara XI, Lining Up Mystara XII, Lining Up Mystara XV, Lining Up Mystara XVI, Lining Up Mystara XVII, Lining Up Mystara […]
Lining Up Mystara Revisited V – Thorfinn Tait Cartography
13 June 2019 @ 8:31 pm
[…] my experience with Jurassic Earth, it occurred to me that my hack-up of the Hollow World back in 2016 actually had an unfortunate effect that I’d rather avoid: it invalidates the projection of the […]